What Is Color Separation in Textile Printing?
Color separation is the process of decomposing a multi-colored design into individual single-color layers, each of which will be printed using a separate screen. In rotary screen printing — the most common method for mass-production fabrics — each color requires its own engraved nickel cylinder. Understanding color separation is critical for achieving accurate, cost-effective textile printing.
Poor color separation leads to muddy prints, registration issues, and increased production costs. A skilled separator can reduce an 8-color design to 5 colors without visible quality loss, saving significant production costs.
Types of Color Separation
Spot Color Separation
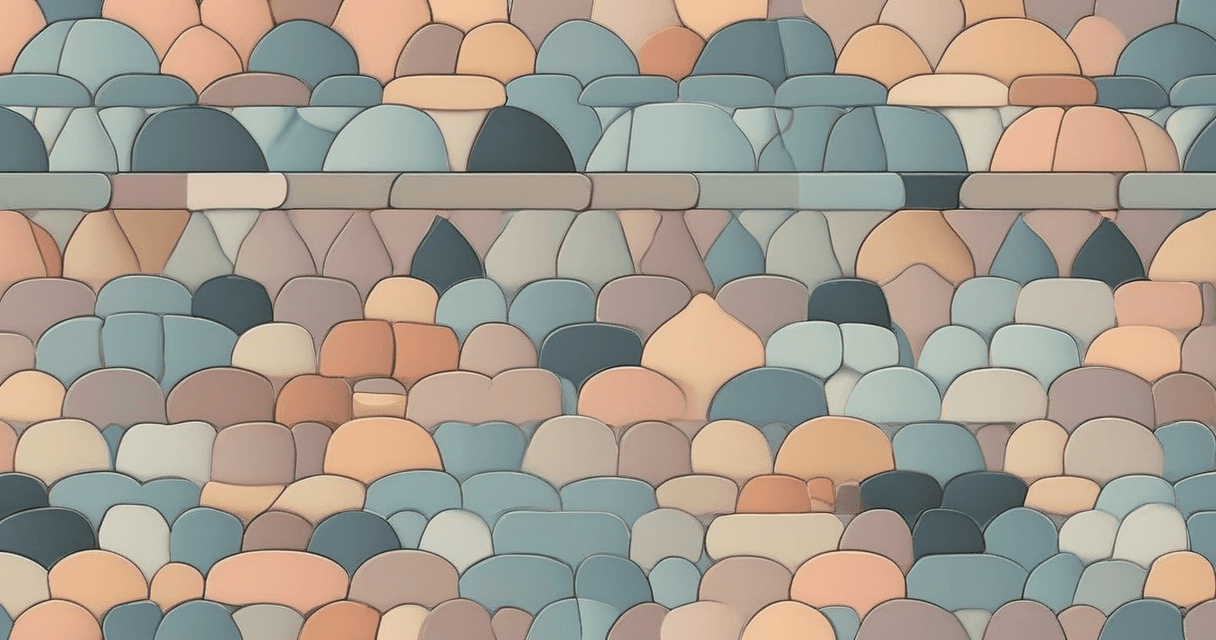
The most common method for textile printing. Each distinct color in the design is isolated into its own layer. This method produces sharp, vibrant results because each color is printed as a solid ink layer. Spot color separation works best for designs with clearly defined color areas — geometric patterns, bold florals, and graphic prints.
Process Color Separation (CMYK)
Used primarily in digital textile printing, process separation breaks the design into Cyan, Magenta, Yellow, and Black (CMYK) channels. Tiny halftone dots of each color overlap to create the illusion of the full spectrum. While this allows unlimited colors, the results may appear less vibrant than spot color printing on fabric.
Simulated Process Separation
A hybrid approach combining spot and process techniques. Uses a limited set of spot colors (typically 6-8) with halftone patterns to simulate a wider color range. This is popular for photographic prints on t-shirts and fashion fabrics where a balance of color accuracy and vibrancy is needed.
Step-by-Step Color Separation Process
Step 1: Analyze the Design
Before separating, examine your design carefully. Count the unique colors, identify gradients, and note any areas where colors overlap or blend. Determine the target number of screens based on the printer's capability and budget constraints.
Step 2: Reduce Colors Using K-Means Clustering
Modern separation tools use K-means clustering algorithms to automatically identify and group similar colors. You specify the target number of colors (e.g., 6 screens), and the algorithm finds the optimal color palette that best represents the original design. This mathematical approach is far more accurate than manual color picking.
Step 3: Generate Separation Layers
Each identified color becomes a separate grayscale layer. White areas in each layer represent where that specific ink color will be printed. The opacity or grayscale value determines the ink density — useful for creating halftone effects and tonal variations within a single screen.
Step 4: Match to Pantone Standards
For production accuracy, each separated color should be matched to a Pantone TCX (Textile Cotton eXtended) reference. This ensures that the ink mixing department produces exactly the right shade. The CIEDE2000 Delta E formula is the industry standard for measuring color difference — a Delta E below 1.0 means the colors are visually indistinguishable.
Step 5: Add Trapping and Registration Marks
To prevent white gaps between adjacent colors (caused by slight misalignment during printing), add trapping — a small overlap (0.2-0.5mm) between neighboring color areas. Include registration marks outside the repeat area to help the printer align screens accurately.
Step 6: Export Individual Layers
Export each color layer as a separate file (TIFF or PSD). Include a color reference sheet showing the Pantone code, ink recipe, and screen angle for each layer. Many production facilities also require a composite preview showing all layers combined.
Optimizing Screen Count
Every additional screen increases production cost. Here are techniques to reduce screen count without sacrificing quality:
- Merge similar colors: Colors within Delta E 3.0 can often be merged without visible difference
- Use overprinting: Two transparent inks can create a third color where they overlap, effectively getting three colors from two screens
- Apply halftone effects: A single screen can create multiple tones of the same color using halftone dot patterns at different densities
- Eliminate unnecessary colors: Sometimes a tiny color area covering less than 1% of the design can be absorbed into an adjacent color
Halftone Settings for Textile Printing
Halftone dots are crucial for achieving tonal gradations in screen printing. Key settings include:
- Line frequency (LPI): 30-55 LPI for rotary screen printing (lower than paper printing due to ink spread on fabric)
- Dot shape: Elliptical dots are preferred for textiles as they reduce moiré patterns
- Screen angles: Each color screen should be at a different angle (typically 15° increments) to prevent moiré interference patterns
- Minimum dot size: 5-10% minimum to ensure dots hold during exposure and printing
Common Color Separation Challenges
Watch out for these issues during the separation process:
- Moiré patterns: Caused by incorrect screen angles or LPI conflicts between layers
- Color contamination: When one ink bleeds into another, often caused by incorrect print order
- Registration tolerance: Rotary screens can have ±0.3mm registration accuracy; design your trapping accordingly
- Ink opacity: Some colors (like white and metallics) are more opaque than others, affecting overprinting results
Mastering color separation is one of the most valuable skills in textile production. With modern AI-powered separation tools, you can achieve professional results faster and with greater precision than ever before.