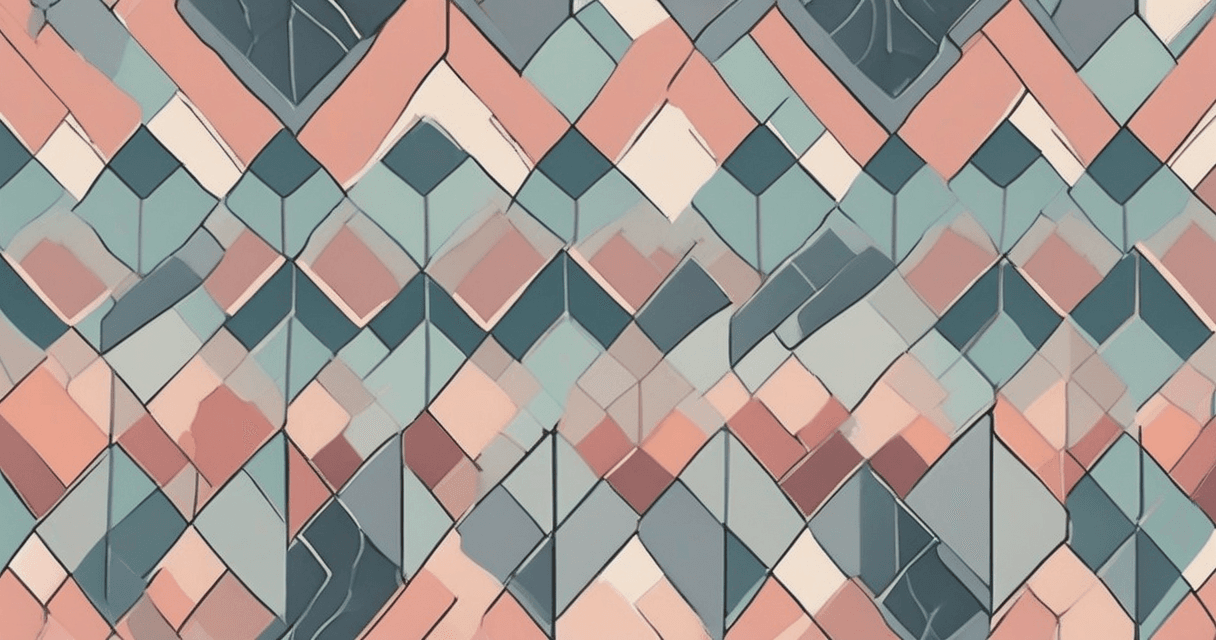
Learning how to create print-on-demand designs for fabric is really learning an end-to-end workflow: you generate a seamless repeat, prep it to hit resolution and format specs, and upload it to a POD marketplace so it prints and sells cleanly. Skip a step, such as an unchecked seam or a CMYK export, and the flaw repeats down every yard the platform prints. This tutorial walks the whole pipeline, from a blank canvas to a published, spec-compliant listing.
How print-on-demand fabric works
With print-on-demand fabric, you upload a design, list it, and the marketplace prints it to order when a customer buys. You never hold inventory. Because the platform prints your file exactly as supplied and tiles it across the fabric width, the quality of your uploaded tile is the quality of the product. Two consequences follow:
- The tile must be truly seamless; any seam repeats across the whole print.
- The file must meet the platform's resolution, color, and format specs, or it prints soft or off-color.
The model rewards a specific kind of effort. Because you do not touch inventory, shipping, or fulfilment, your entire competitive advantage lives in the design and its metadata: how good the pattern is, how cleanly it tiles, and how well the listing is titled and tagged so buyers find it. That means the time you would spend on logistics in a traditional business goes instead into building a deep, coherent catalog. The designers who do well on POD platforms tend to have many strong, well-made patterns in a recognizable style, not one lucky hit.
Step 1: Generate a seamless repeat
Everything starts with a strong, tileable design. You can draw one, transform a photo, or generate one from a brief. For speed and originality, our AI pattern generator produces seamless textile repeats from a text description, so you can spin up motifs, densities, and styles quickly and pick the strongest.
- Describe the design: motif, mood, density, and palette direction.
- Generate several options and choose the one with the most even motif distribution.
- Confirm it is built as a seamless tile, not just a nice image.
If you prefer building the repeat by hand, the manual offset-and-patch method works too, and the AI textile design generator overview goes deeper on generating original repeats from a brief.
Whatever your method, design with the product in mind. Buyers browse POD fabric for specific uses, quilting cottons, apparel, home decor, and the scale and busyness that suits a quilt block is not the same as what flatters a dress. It pays to have a clear intended use for each design and to size the motif accordingly. It also pays to think in collections: a main print, a coordinating smaller-scale version, and a simple blender or texture that ties them together. Collections sell because customers can buy a whole coordinated set from one shop.
Step 2: Verify the seam before you go further
This is the cheapest insurance in the whole workflow. A tile that looks fine alone can betray a grid line when it repeats across a yard of fabric.
- Tile the design at least 3x3 and step back from the screen.
- Look for a faint horizontal or vertical line, hard corners, or clustered motifs at the seams.
- Fix any mismatch now; it is far cheaper than reprinting a swatch.
Tiling the design at least 3x3 and stepping back is the fastest way to catch a bad seam; nine tiles reveal the horizontal join, the vertical join, and the four-corner meeting point all at once, which a single-tile preview hides.
Step 3: Hit the resolution and format specs
POD fabric platforms have specific requirements. These are the ones that matter across Spoonflower-style marketplaces:
| Spec | Target | Notes |
|---|---|---|
| Resolution | Design at 300 DPI | Many services print at 150 DPI and downsample; 300 gives sharper results and headroom |
| Tile size | 12 by 12 in (3600 by 3600 px) | Common community standard; no fixed size mandated |
| Color mode | sRGB | Platforms print from RGB; CMYK shifts colors |
| Format | PNG or JPG | PNG is lossless; keep under the size cap, often 25 to 40 MB |
The DPI point trips up newcomers: even if a marketplace downsamples to 150 DPI, uploading at 300 DPI produces visibly crisper prints on tightly woven fabric. Design at 300. If your source is too small to reach 300 DPI at the tile size, upscale it first with the method in our guide on how to increase image resolution to 300 DPI for fabric.
The color mode point is the one that quietly ruins prints. Designers who come from print graphics reflexively work in CMYK, then upload a CMYK file to a platform that expects sRGB. The service converts it, and saturated colors shift, blues turning purple, bright greens going flat. Set your document to sRGB from the start and check colors on a calibrated screen if you can. Even then, a monitor emits light while fabric reflects it, so the printed result never matches the screen exactly. That gap is normal and it is precisely why the swatch step later is not optional.
Step 4: Build colorways to multiply listings
One of the highest-return moves in POD is turning a single design into several colorways. A colorway is the same pattern in a different palette, and each one becomes its own listing, so one tile can seed a whole product family with no new drawing.
- Recolor the tile while keeping the repeat structure intact.
- Re-verify the seams; recoloring should not move motifs, but confirm anyway.
- Export each colorway to the same specs.
Our guide on how to make fabric colorways from one pattern covers doing this efficiently without breaking the repeat.
Colorways are the closest thing POD has to no-cost inventory. The hard creative work, drawing the motifs and nailing the repeat, is already done; a recolor is comparatively quick and can double or triple your listings from a single tile. Beyond raw count, colorways let one design serve different tastes and rooms, a moody dark version and a bright airy one from the same artwork. A disciplined shop treats every strong pattern as a small family of colorways rather than a single listing, which multiplies discoverability without multiplying the drawing time.
Step 5: Upload and configure on the marketplace
With spec-compliant files in hand, the upload itself is straightforward, but a few settings matter:
- Upload the tile at 300 DPI, sRGB, PNG or JPG, under the size cap.
- Choose the repeat type in the interface: basic tile, half-drop, or half-brick. This changes how your tile lays across the fabric.
- Set the scale so the motif prints at the intended physical size.
- Order a swatch to proof color and scale on real fabric before publishing, since screen color never perfectly matches printed cloth.
- Write the listing with clear, searchable titles and tags describing the motif, style, and use.
Pre-publish checklist
- Seam verified at 3x3, no visible grid line.
- 300 DPI at the final tile size.
- sRGB color mode, not CMYK.
- PNG or JPG under the marketplace file-size cap.
- Repeat type selected in the upload interface.
- Physical swatch ordered and approved.
- Colorways prepared for extra listings.
Growing a POD shop past the first listing
One good design pays for a swatch; a coherent catalog pays a bill. Once your workflow is solid, the leverage is in volume and organization, not in chasing a single viral pattern. A few habits separate shops that grow from shops that stall.
- Work in collections. A main print plus a coordinating small-scale print plus a blender gives customers a set to buy, not a lone swatch.
- Reuse through colorways. Every strong tile should ship in several palettes so one drawing becomes several listings.
- Write findable listings. Titles and tags are your storefront search; describe the motif, style, mood, and use so buyers can actually reach the design.
- Keep a house style. Recognizable, consistent aesthetics turn one-time buyers into repeat customers who browse your whole shop.
- Proof before you scale. Order swatches of your bestsellers; a color or scale problem multiplied across a catalog is expensive to unwind.
The through-line is efficiency of creation matched with discipline of presentation. Generating and prepping designs quickly only helps if each one is verified, spec-compliant, and listed so it can be found. Get that loop tight and the same effort that produced one listing produces dozens, which is where print-on-demand actually starts to compound.
It also helps to review what sells and lean into it. POD platforms surface which of your patterns get views and orders, and that feedback is worth more than any guess about trends. If a particular motif family or color story is doing the work, build more of it, add colorways, and extend it into a fuller collection. Treat the shop as a portfolio you edit over time, retiring weak listings and reinvesting effort where the data already points, rather than scattering energy across unrelated one-offs.
What to read next
To scale your catalog, learn how to make fabric colorways from one pattern and keep every file sharp with our guide on how to increase image resolution to 300 DPI for fabric. For generating fresh, original designs to list, see the AI textile design generator overview. For background on the business model, Wikipedia's overview of print on demand explains how these marketplaces operate.