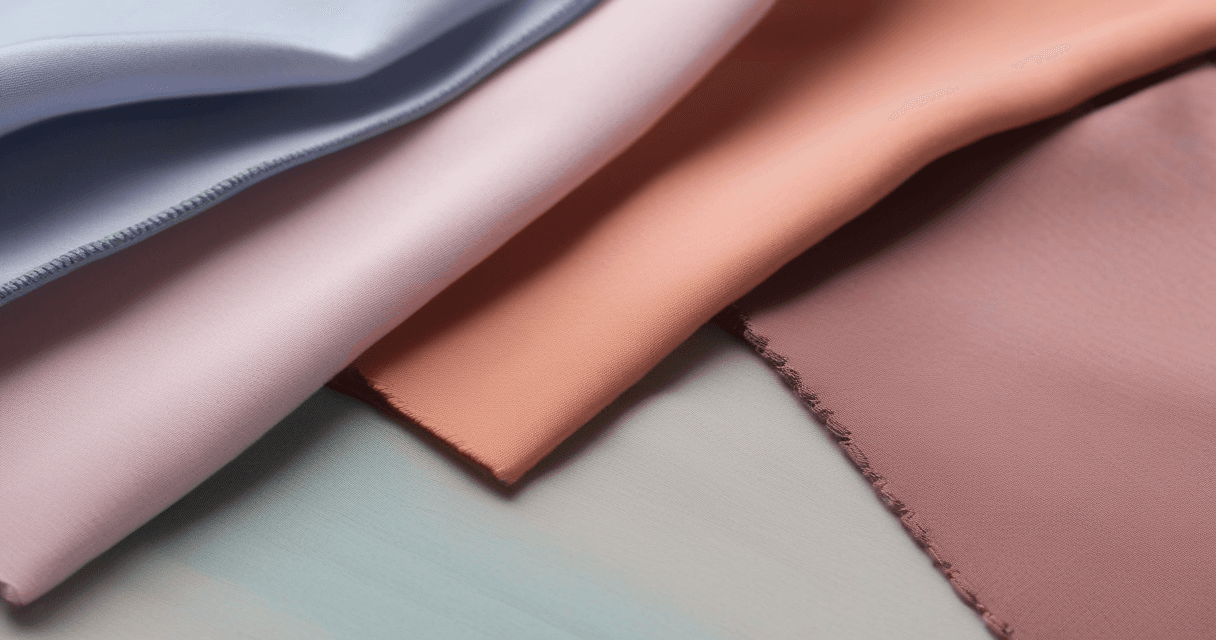
Learning how to make fabric colorways from one master pattern is what turns a single design into a sellable range. A colorway is one specific color assignment of a print — the motifs, layout, and repeat stay identical while the palette changes. Get the master file structured correctly and you can spin out a whole seasonal range from one artwork, then hand each variant to the mill as a clean, print-ready file.
This is a production workflow, not decorating. The goal is a system where one edit recolors every variant, where each colorway is locked to real dye references, and where every file exports at the right resolution and repeat. We will build that system step by step, from the master print through export, and flag the traps that force designers to repaint colorways by hand.
What a Colorway Actually Is
People use "color" and "colorway" interchangeably, but they are not the same. A color is a single hue. A colorway describes how several colors are assigned across a whole design so it reads as one coherent option. The same botanical print in navy-on-cream and in rust-on-olive is two colorways of one pattern — same structure, different palette.
Why brands develop multiple colorways from one artwork:
- Assortment — buyers want a range they can merchandise together, not one lonely print.
- Seasonality — the same floral shifts from bright spring pastels to muted autumn tones.
- Efficiency — one master file amortizes the design cost across many SKUs.
- Risk — a hero colorway can carry the story while neutrals catch the cautious buyer.
Build a Master Print That Recolors Cleanly
The whole system depends on how you build the master. Colorways are fast when the artwork uses flat, named color regions and slow when it does not. If your print is a soft-edged raster with thousands of blended pixels, there is no clean way to say "make every navy region rust" — you end up masking by hand.
Set the master up so a global swap works:
- Flat color regions — each motif area is one solid, addressable color, not a gradient of near-navies.
- Named swatches — give each color a role name (Ground, Motif 1, Accent) so a swap is a decision, not a guess.
- Limited palette — fewer master colors means faster, more legible colorways. Most prints work with four to eight.
- A verified repeat — fix the seam once in the master so every colorway inherits a clean tile.
If your source is a scan or a hand-painted original, flatten it to a defined palette first. Reducing to clean, separated colors is the same discipline you would use for screen printing — pulling a messy image down to a controlled set of flats is what makes a global swap possible at all.
One more decision at master stage pays off across the whole range: how many master colors to carry. Fewer colors means faster colorways, cleaner separations, and less chance a swap breaks the design's read. It also keeps your options honest — every color you add is a color you have to make a decision about in each of the six-to-eight variants you plan to build. If a color is not earning its place in the hero, it will only be dead weight in the neutrals.
Generate the Seasonal Range
With a clean master, generating variants is a palette operation. There are two paths, and most designers use both.
Manual palette swap. Recolor each named swatch once; every instance of that color updates across the entire repeat. This gives full control and is ideal for the hero colorways you care most about.
Colorway generator. A generator takes your master and produces a batch of on-brand variants automatically, holding the structure and color relationships while swapping the palette. It is the fast way to explore a seasonal direction — generate a dozen options, keep the six that fit the story, discard the rest.
A practical range for one print:
| Role | Count | Purpose |
|---|---|---|
| Hero | 1 | The signature look that sells the print |
| Seasonal | 2-3 | Trend-driven palettes for the drop |
| Neutral / basic | 1-2 | Safe, broadly-merchandisable options |
That lands you in the 6-8 range where the assortment reads full without overwhelming the buyer. Building the palettes themselves — pulling coherent color stories from a reference — pairs well with our guide to building a color palette from a mood board.
Colorway Count vs. Print Method
How many colorways you can afford depends on how the fabric will be printed, so decide the method before you commit to a range.
- Digital textile printing reproduces any color with no per-color setup. Additional colorways cost nothing beyond fabric, and you can swap palettes an unlimited number of times. If you are printing digitally, colorway count is a merchandising decision, not a cost one.
- Screen printing needs one screen per color. Each added color raises setup cost and registration risk, so most jobs cap at 6-8 colors and keep colorway counts lean. Reduce colors deliberately rather than letting them creep.
For screen work, plan the color count at master stage rather than discovering it at the screen room. A colorway that needs ten screens is a colorway you probably will not run, so decide early which colors are essential and which are decoration you can drop. This keeps the whole range within one screen budget instead of some variants quietly ballooning past it.
Lock Every Color to a Pantone TCX Reference
A colorway is only production-ready when its colors point at something physical. Screen RGB and names like "sage" mean different things in different factories. The fix is a Pantone TCX (Textile Cotton) reference on every color in every colorway.
Assign codes at the colorway stage, not after export:
- Match each swatch to its nearest TCX chip so the dye house has a real target.
- Keep a per-colorway color list — code, role, and where it appears.
- Remember that the same hex can land on different TCX chips depending on substrate and finish.
The mechanics of matching a screen color to the right chip are covered in our Pantone TCX color matching guide. Do this before export so the color list travels with each file.
Export Each Colorway as Its Own File
The final step is where good colorway sets fall apart: exporting. Do not hand the mill one layered document and expect them to find the variants. Each colorway ships as its own file.
- Resolution — 300 DPI at the final print size, not at screen size. If the master needs enlarging, upscale before recoloring, not after.
- Repeat check — verify the tile in every colorway. A swap can expose a seam that was invisible in the hero, especially in low-contrast neutrals.
- File format — for a mill, a CMYK TIFF at 300 DPI is usually safest; confirm their spec first.
- Naming — name each file by colorway code (print-name_colorway-code) so nothing gets mixed up on the floor.
- Color list — attach the per-colorway Pantone TCX list to each file.
Resolution matters most here — a colorway that looks crisp on screen can print soft if it was never truly at 300 DPI. Our explainer on DPI for fabric printing walks through checking effective resolution at final size.
Check Contrast in Every Colorway
One trap deserves its own step. A motif that reads crisply in the hero can vanish in a tonal neutral where ground and motif sit too close in value. Colorways are not just pretty palettes — they have to keep the design legible.
- View each colorway in grayscale to check value separation.
- Confirm the key motif still stands off the ground.
- Watch fine linework, which collapses first in low-contrast palettes.
- Preview at final print scale, not zoomed in — small motifs lose contrast at real size.
If a neutral kills the design, adjust that colorway's values rather than dropping the whole range. Small ground or accent shifts usually recover the read without changing the story.
Organize and Name the Range
A set of colorways is only useful if everyone downstream can tell them apart. The last discipline is organizational: give the range a clear structure so a buyer, a merchandiser, and the mill are all looking at the same thing.
- Group by role — present hero, seasonals, and neutrals as distinct tiers, not a flat wall of swatches. Buyers assort in tiers.
- Assign a code to each colorway (print-name plus a short colorway code) and use it on every file, every swatch, and every line sheet.
- Keep a master color map — one table showing each colorway's code, its Pantone TCX list, and the role each color plays.
- Show them at scale — present each colorway at real print size, not zoomed in, so the value read matches what ships.
This is where the earlier work pays off. Because you built the master with named regions and locked each color to a TCX chip, the color map almost writes itself — every colorway is just a different row of references against the same structure. That map becomes the backbone of the print's tech pack later, so the effort is never wasted.
Common Colorway Mistakes to Avoid
A few traps turn a clean colorway workflow into a slow, error-prone one. Watch for these:
- Recoloring a flattened raster — with no addressable color regions, every colorway becomes a hand-masking job. Fix the master, not the variants.
- Skipping the Pantone step — colorways that live only as screen RGB will not match on fabric, and the mismatch multiplies across every variant.
- Ignoring contrast in neutrals — the tonal colorway that looks sophisticated on screen can bury the motif at print scale.
- Exporting one layered file — hand the mill separate, coded files per colorway, not a stack of layers to untangle.
- Not re-checking the repeat — a palette swap can reveal a seam that hid in the hero's contrast.
Every one of these traces back to the same root: treat colorways as a system built on a clean master, not as a series of one-off paint jobs. Build the system once and each new season is a fast palette pass, not a rebuild.
What to Read Next
Once your colorways are locked, the master print behind them still needs to tile perfectly and meet mill specs. Continue with our Pantone TCX color matching guide to nail the references, then DPI for fabric printing to confirm each export prints sharp. When you are ready to build a range fast, generate variants from your master in the Texloom Studio colorway workspace. For background on the methods behind putting color onto cloth, Wikipedia's overview of textile printing is a solid outside reference.

