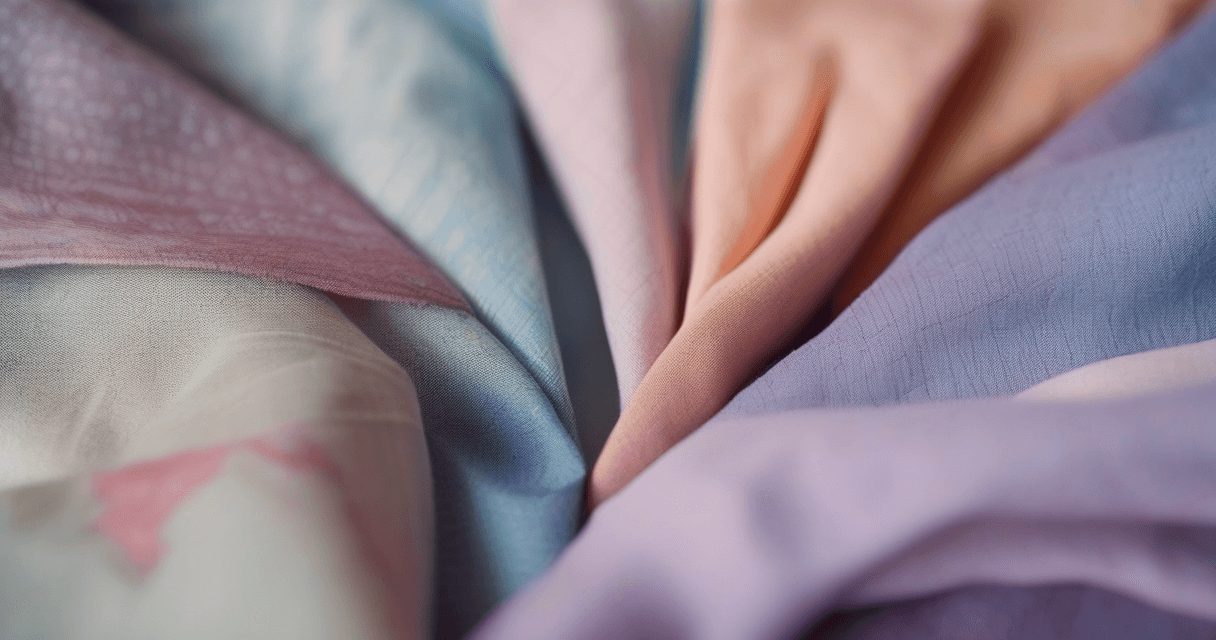
Neural style transfer is the AI tool that moves the artistic mood of one image onto the structure of another. In textile design it is used for colorway ideation, translating modern patterns into traditional styles, and generating mood-driven variants of established designs. This guide covers when style transfer actually produces usable textile output, the failure cases that waste credits, and the production prep that turns a cool-looking style transfer into a print-ready file.
How Style Transfer Works
Style transfer models separate two components of an image:
- Content: the shapes, structure, and spatial relationships — what the image depicts
- Style: the texture, color distribution, brush character — how the image is rendered
The model takes content from one image and style from another, then generates an output that combines both. Early implementations (Gatys et al., 2015) required minutes per image on GPUs; modern modern AI methods produce similar results in seconds.
Textile Use Cases
Style transfer works well for:
- Translating to traditional styles: modern geometric pattern → batik, ikat, shibori, block-print character
- Painter-style mood variants: clean vector floral → watercolor, oil painting, pastel
- Cross-medium translation: photograph → screen-print-style illustration
- Colorway with artistic character: one pattern, four distinct artistic moods
It works poorly for:
- Brand-critical work where colors and shapes must match exactly
- Logos, typography, and hard-edged graphic elements
- Seamless patterns (edge continuity breaks)
- High-resolution print files (most models output at 1024px or smaller)
Choosing Style References
The best style references share two properties:
- Clear artistic character. A classical oil painting has strong brushwork style; a contemporary digital illustration has weaker style for transfer.
- Appropriate complexity. Match style complexity to target complexity — a dense impressionist painting overwhelms a simple pattern; a minimalist watercolor understates a dense textile.
Good style references for textile:
- Traditional textile photography (batik, ikat, shibori, suzani, kantha)
- Fine-art paintings with distinct movements (Impressionist, Post-Impressionist, Nihonga)
- Vintage print advertising and poster art
- Natural textures (bark, stone, cloud formations)
Production Workflow
- Prepare content image — your base pattern, ideally at 1024×1024 or target aspect ratio
- Prepare style reference — strong clear style, matched complexity
- Set style weight — 0.5 for subtle, 0.7 for balanced, 0.9 for dramatic
- Run the transfer
- Review — if it looks over-processed or under-transferred, adjust style weight and retry
- Post-process: upscale to print resolution, convert color space, inspect for artifacts
Our Style Transfer tool includes textile-aware style weighting and preserves seamless continuity when used with tile-prepared input.
Style Weight Calibration
Style weight controls how aggressively the output adopts the style. Too high destroys content; too low barely applies style.
- 0.1–0.3: subtle mood shift, colors slightly influenced, structure intact
- 0.4–0.6: clear stylistic character, content still dominant — usually the sweet spot
- 0.7–0.8: strong stylistic transformation, content visibly altered
- 0.9+: style dominates, content barely recognizable — experimental only
Start at 0.5 and adjust based on output. Most usable textile results sit in the 0.4–0.7 range.
The Seamless Pattern Problem
Standard style transfer treats the image as a single picture with edges. It applies style in a way that works for that single frame but does not preserve edge continuity needed for seamless repeats.
Workarounds:
- Work on a 3×3 tile of the pattern, apply style transfer, extract the center tile
- Use a seamless-aware style transfer tool that explicitly preserves edge continuity
- Apply style transfer to the pattern, then re-seam the result with a seamless repeat tool
Either way, always re-verify seam continuity after style transfer. Production-ready seamless patterns need this check regardless of whether style transfer introduced the problem.
Post-Transfer Production Prep
Style transfer outputs need three steps to become production-ready:
- Resolution bump: most models output 512–1024px. Upscale with a textile-aware AI upscaler to target print resolution (300 DPI at print size).
- Color space conversion: outputs are sRGB. Soft-proof to CMYK or spot Pantone, embed profile, export.
- Artifact cleanup: style transfer often introduces subtle artifacts — color halos around boundaries, texture irregularities. Inpaint or manually clean before production.
Style Transfer for Colorway Generation
One powerful workflow: use multiple style references to generate distinct colorway variants:
- Content: one base pattern
- Style #1: warm sunset photography → warm colorway
- Style #2: winter landscape → cool colorway
- Style #3: tropical flora → saturated colorway
- Style #4: desaturated vintage photograph → muted colorway
Four distinct production-candidate colorways from one base pattern in under an hour. Pair with a color-transfer pass (Reinhard method) for additional palette refinement.
Related Reading
For color-focused palette manipulation: Reinhard color transfer and palette extraction. For resolution bumping style transfer outputs: fix blurry textile designs. For converting outputs to production-ready: color management playbook.

